Storage and display
How to photograph coins with a phone: light, background and angles
A practical guide to clear photos for a listing, a valuation or an online collection profile
BulgarianCoins editorial team 3 min read
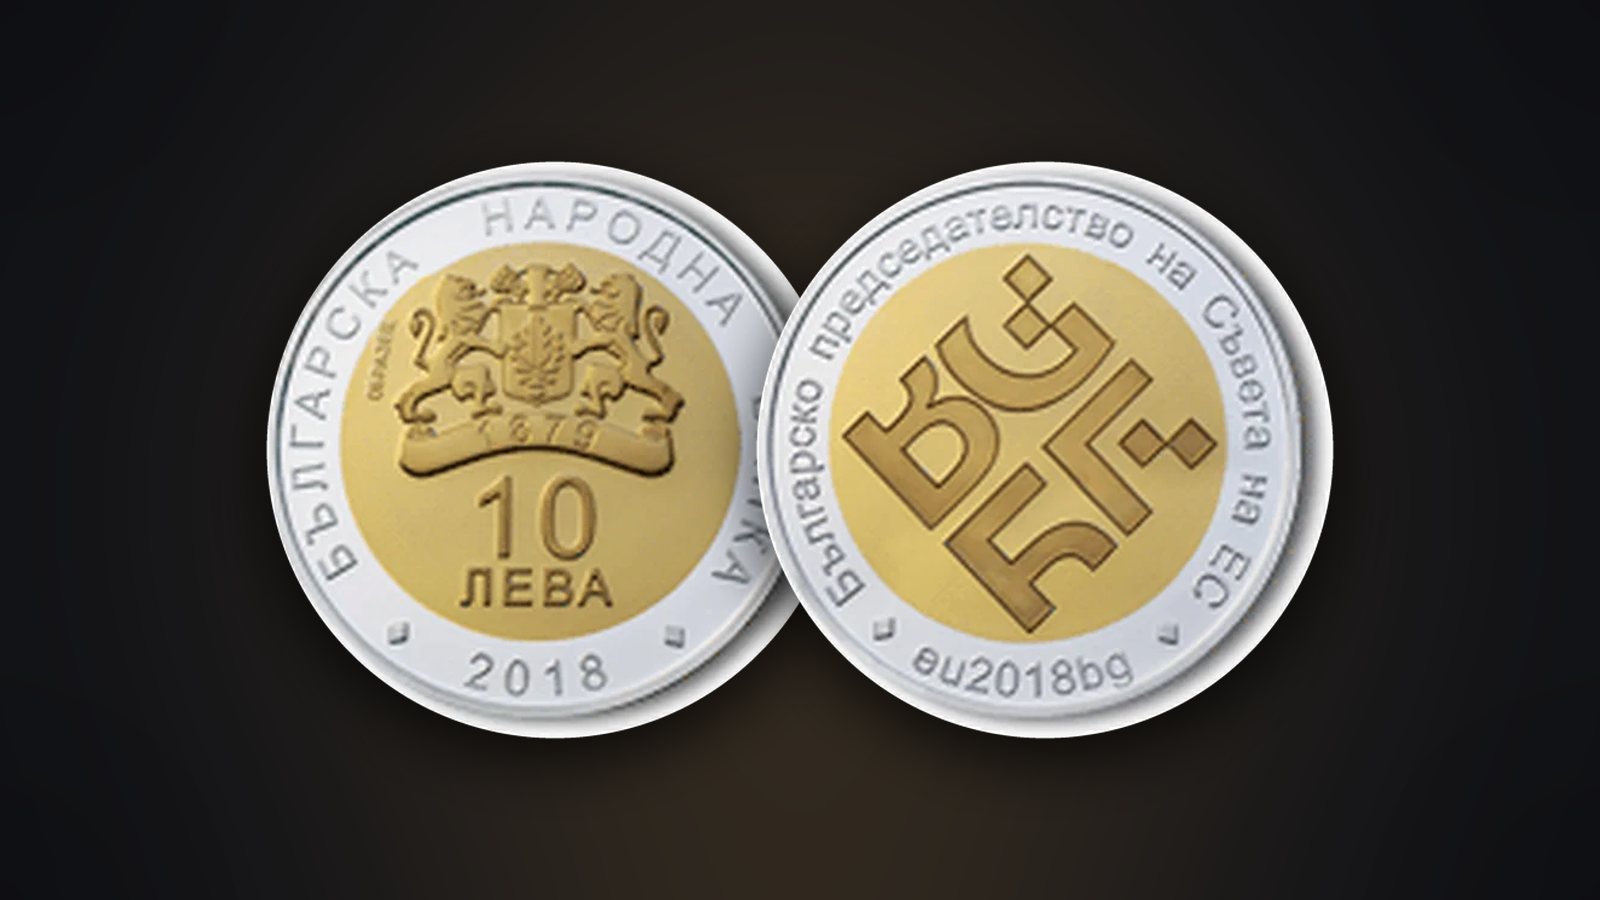
A good photo settles a lot. With it, a dealer can give a preliminary valuation, a buyer decides whether to trust you, and you document your collection for insurance or an inventory. You do not need a professional camera – a modern phone is quite enough if you follow a few simple rules.
1. Light is everything
- Daylight from a window, without direct sun, is the easiest solution. An overcast day is ideal.
- Two lamps at the sides at an angle of about 45° give even light without strong shadows. Use identical bulbs with neutral (“white”) light so as not to mix colours.
- Turn off the flash. It creates bright glare and a flat picture.
- Side light (low, almost parallel to the coin) brings out the relief and the scratches. It is useful when you want to show the condition honestly.
2. Background
- A neutral, matt background: black or dark grey velvet for silver and gold coins, light grey card for dark copper coins.
- No patterns or textures that distract.
- No hands in the shot. The coin should lie on the background, not be held with fingers.
3. Stability and focus
- Prop up the phone. A small tripod, a pile of books or a cup – anything to keep it still.
- Shoot from above, perpendicular to the coin, so there is no distortion.
- Do not bring the phone too close. Below the minimum focusing distance the photo becomes blurred. It is better to shoot from 15–25 cm and use the 2× or 3× lens, or crop the photo afterwards.
- Tap the coin on the screen to focus, and lower the exposure slightly if a silver coin looks “burnt out”.
- Use a 2–3 second timer so the phone does not shake when you press the button.
4. What to photograph
For a listing or valuation, the full set is:
- The obverse – the whole coin, in frame.
- The reverse – with the same light and distance.
- The edge – especially for coins with a reeded edge or an edge inscription.
- Close-up details – the year, the letters or any defects.
- The coin on a scale – for silver and gold coins this is the quickest way to show that the weight is correct.
5. Proof coins in a capsule
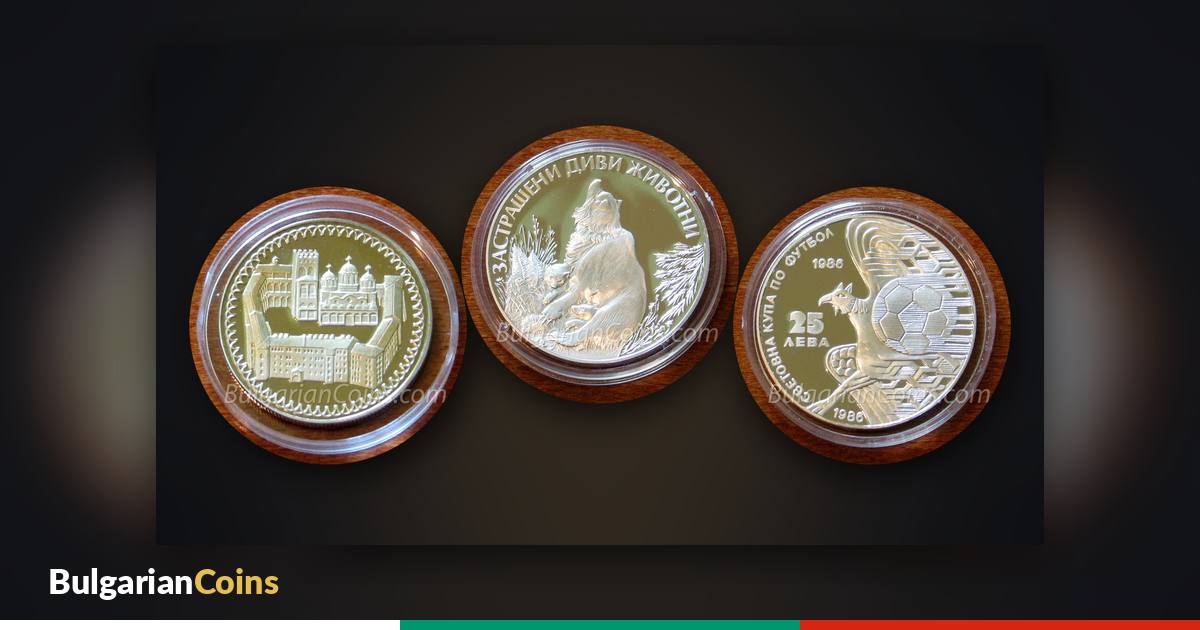
BNB proof coins have a mirror field that reflects everything – including your phone.
- Do not take the coin out of the capsule. Photograph it inside.
- Use diffused light – for example through a sheet of white paper or a white shopping bag over the coin.
- Tilt the coin or the phone slightly until the mirror field turns dark and the relief bright. That is the classic look of a proof photo.
- Clean the capsule on the outside with a soft glasses cloth.
6. Editing
- Crop around the coin, leaving a small margin.
- Do not distort the colours or use filters. Buyers want to see the real colour and patina.
- Do not erase defects. An honest photo saves returns and bad reviews.
- Keep the originals in good resolution for your own archive.
Quick checklist
- Daylight or two lamps, no flash.
- A neutral matt background.
- A steady phone, from above, at 15–25 cm.
- Both sides, the edge, the details.
- No filters and no “beautifying”.
If you want to compare your photo with a reference, every coin profile in our catalogue has photos of the obverse and reverse and the full technical details.